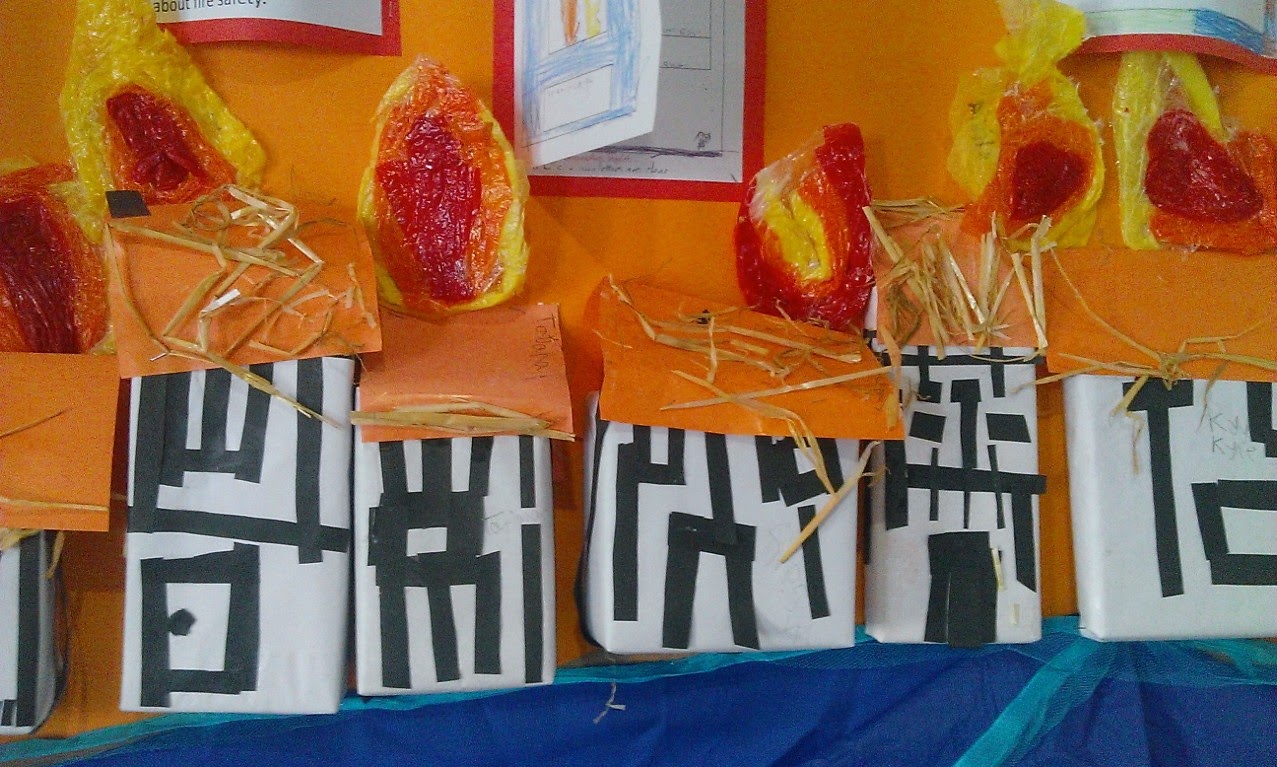
Fire Sculptures
When I first thought up this activity I was a little worried that I was being over ambitious by doing this with years one and two (5-7 year olds). But, the results were really outstanding.
I began by drawing a large flame outline on a piece of A4 white paper and photocopying it so every child had one.
The children then placed a sheet of cling film over the top of their flame out line. Pouring PVA glue into the middle of the cling film, the children spread it out to create a rough flame shape. They need quite a lot of glue so the layer is around 5mm thick. If the glue spreads outside the outline it can be cut off after it dries so it's not an activity that needs to be precise.
Once the children had spread the glue, I provided them with a selection of warm coloured tissue paper. This can be a great way to introduce warm colours to young children and talk about the connection between warm colours and things that are hot or warm.

If they start with the inside colour first and work out it is easier to control the flame shape. The way of sculpting I explained to the class was to make sausages of tissue paper and place it into the glue. Make longer sausage of tissue paper for each section to wrap around. We used the darkest colour (red) in the middle moving to the lightest (yellow) on the outside.
Finally, apply a layer of glue over the top of the tissue paper to harden the sculpture.
Leave to dry over night in a dry warm place. In the morning the cling film should peel away from the dried glue. By now both sides should be hard and shiny. Now the flames can be cut neatly getting rid of any left over dried glue or tatty pieces of tissue paper. The flames look good with a whole punched through the top and hung from the ceiling or stapled to a display board.

No comments:
Post a Comment