
Clay Dinosaur Fossils
To finish off our dinosaur themed term, we created our own dinosaur fossils. We began by shaping air drying clay into balls and flattening with our hands to give an uneven surface. You don't want a perfect slag as fossils aren't found in nature like that. The clay needs to be about half and centimetre to a centimetre thick.
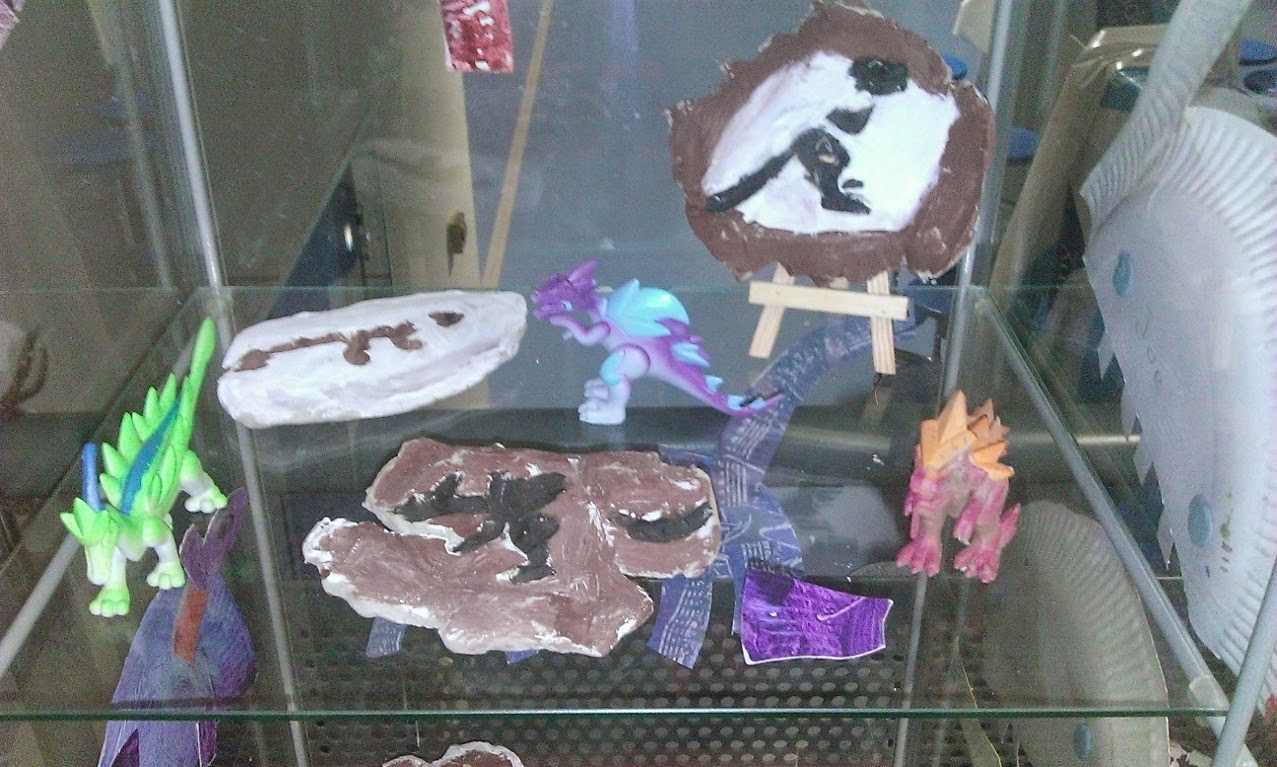
Next, the children selected a dinosaur model I brought a pound store. I really liked the ones I found as they had lots of sharp spike shapes that would show well in the clay. the fossil is then created by the children pressing their selected dinosaur into the clay. If the press to hard and the clay is to thin it fill cause holes or the dinosaur will stick and the clay rips when you have to pull to hard to remove it. Make sure the children press around the edge of the dinosaur to ensure all the appendages are clear. When the children remove the dinosaur the impression left should be clear.

Once the clay has dried completely, you are ready to paint. I chose to give the children earthy colours to choose from. My only real stipulation to the children her was that they needed to paint the impression of the dinosaur in the darkest colour but you might want to let them experiment.

This particular activity really did allow for a lot of discussion around rocks and their formation.

Materials List
- Air drying clay
- Plastic dinosaur models
- Paint
- Paint brushes


No comments:
Post a Comment